

If you’re running a business that requires you to keep an ice machine, you must be aware that commercial ice machines need maintenance from time to time. Otherwise, they end up causing big problems.
As a business owner, you may want to keep the costs as low as possible and attempt to perform meager tasks yourself. This includes ice machine cleaning. You can go to an ice machine cleaning company, but it will cost you a lot of money, which isn’t feasible considering maintenance is required every 2-3 months.
This is why it is important for a business owner to learn professional ice machine cleaning.
Before you dive into the cleaning process, there are certain things that you need to carry, as they are helpful in cleaning. These include gloves, towels, a sponge, a cleaner, and a sanitizer.
1. Get Rid of All the Ice
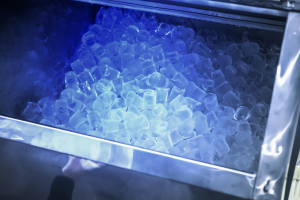
The first step in the cleaning process is to rid the machine of all the ice. You can either extract all the ice and keep it in a bowl to melt or let the machine melt all the ice itself. This will allow the machine to store all the ice in water form in the water dump valve.
2. Drain All the Water
Once all the ice is melted, you need to click the “clean” button so the machine drains all the water and is completely empty. It will start refilling the water, and you need to wait until it asks you to add chemicals.
3. Add the Chemicals
You have to now add the chemicals but only in the required quantity. Every ice machine has a manual that specifies the amount of chemicals to be added. You must follow it.
4. Disengage the Interior
Once you add the chemical, the cleaning process will take 15-20 minutes. Wait until it’s done, and then disengage the machine’s internal components.
5. Prepare the Cleaning Solution
Now you have to prepare the cleaning solution, which will be used to clean the different components of the ice machine. The amount of cleaning solution required can again be found in the manual.
6. Clean the Parts
Since all the parts are disengaged and the cleaning solution is prepared, you can now start cleaning the different parts of the ice machine.
7. Run Water Through All the Parts
Once you are done with cleaning the internal parts of the machine, run water through each part, as it will remove any chemical residue, allowing the machine to be free from any chemicals.

This cleaning process doesn’t mention the cleaning of outer parts because they are cleaned more frequently and simply with a wet cloth. You can clean the outer part according to the outside condition of your machine.
For the internal part, this is the whole process. You can clean your machine yourself now, saving you from hiring a professional ice machine cleaner.
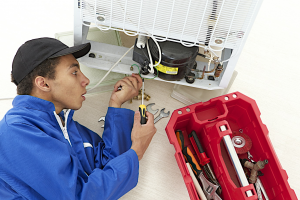
If you don’t have time to clean the machine yourself, or your machine is having problems, you can contact us for commercial ice machine repair in Los Angeles.